Snickerdoodle Blondies
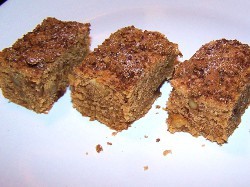
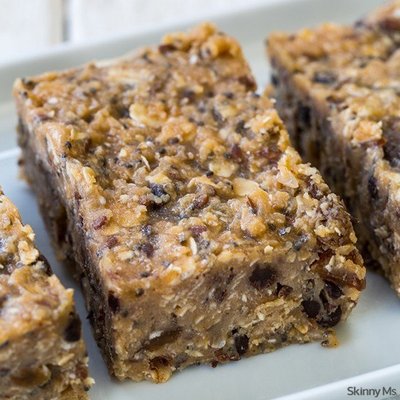
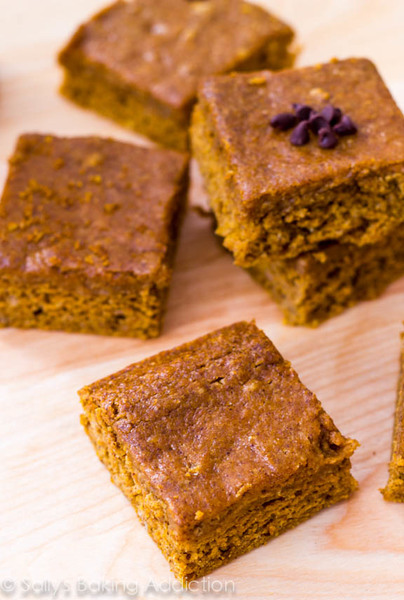
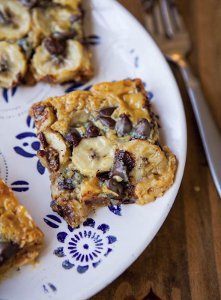
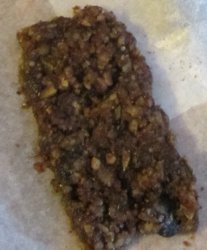
With this gluten free baking idea, think blond brownies made lighter. Made with Bisquick, applesauce and walnuts, these Snickerdoodle Blondies from Anne Colagioia are one of the best dessert bar recipes around. The cinnamon and brown sugar in the batter gives this recipe its distinctive "snickerdoodles" flavor.
Notes
If you’re not following a gluten free diet, you can substitute either regular Bisquick or an equal measure of all purpose flour mixed with 1 teaspoon baking powder and 1/2 teaspoon baking soda.
For more gluten free recipes from Anne, be sure to check out her Featured Foodies profile page.
To see exactly how Anne makes this gluten free dessert, watch this video recipe:
Preparation Time10 min
Cooking Time35 min
Ingredients
- FOR THE BATTER:
- 1 1/4 cup gluten free Bisquick
- 1 1/2 teaspoon cinnamon
- 1/2 cup butter, melted
- 1 cup light brown sugar, firmly packed
- 1/2 cup applesauce
- 1 egg
- 1 teaspoon vanilla
- 1 cup walnuts, chopped
- TO SPRINKLE ON TOP:
- 1 tablespoon brown sugar
- 1 tablespoon granulated sugar
- 1/8 teaspoon cinnamon
Instructions
-
Preheat the oven to 350 degrees F (or 175 degrees C) and grease an 8x8, 9x9 or 7x11 inch pan and line the bottom with parchment.
-
Mix together a tablespoon each of brown sugar and granulated sugar with the 1/8 teaspoon of cinnamon and set it aside to sprinkle on top.
-
In a small bowl stir together the Bisquick and 1 1/2 teaspoons of cinnamon and set it aside.
-
In a larger bowl whisk the melted butter and brown sugar together until well combined. Add the applesauce, egg and vanilla and continue whisking until smooth.
-
Switch over to a rubber spatula, and add the Bisquick mixture. Stir the wet and dry ingredients together until you no longer see any remaining dry mixture then stir in the walnuts. Spread the batter along the bottom of the prepared pan being careful not to disturb the parchment paper.
-
Bake for 30 to 35 minutes or until the blondies are a deep golden color and a toothpick inserted comes out clean. Allow them to cool completely then refrigerate to make them even sturdier before slicing. Use a serrated knife to cut them and serve.
Read NextLow-Carb Scotcharoos

